🏡 Home 📖 Chapter 👈 Prev 👉 Next
⚡ GMapsBook.com is crafted by Jozef Sorocin (🟢 Book a consulting hour) and powered by:
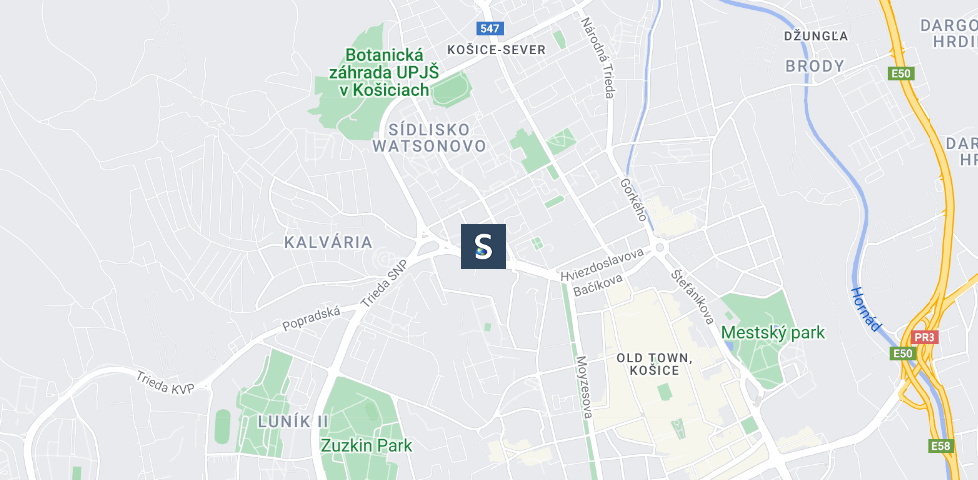
You’ve got a Google Map set up and want to place markers on it. You don’t want to go with the default, red markers — you want your brand to stand out.
In this step-by-step guide we’ll analyze four hands-on approaches and help you understand & implement advanced map markers.
<aside> ⚡ Also check out our Google Maps Handbook, esp. the chapters on 💠 Markers, Lines, & Shapes and 🏷️ Custom Marker Labels.
</aside>

Image-based Google Maps marker
Assuming you’ve initialized your map:
const myMap = new google.maps.Map({ ... });
you can now create your first custom marker by filling in the icon property:
const marker = new google.maps.Marker({
    map: myMap,
    position: {
      lat: 48.7277,
      lng: 21.2453,
    },
    icon: {
      url: 'https://...',
    }
});
Google Maps will now take this image and render it in its original size.
<aside>
💡 If you need to downsize the image, eg. to 36 × 36px, you can use scaledSize:
const marker = new google.maps.Marker({
    ...
    icon: {
      url: '...',
      scaledSize: new google.maps.Size(36, 36),
    }
});
</aside>